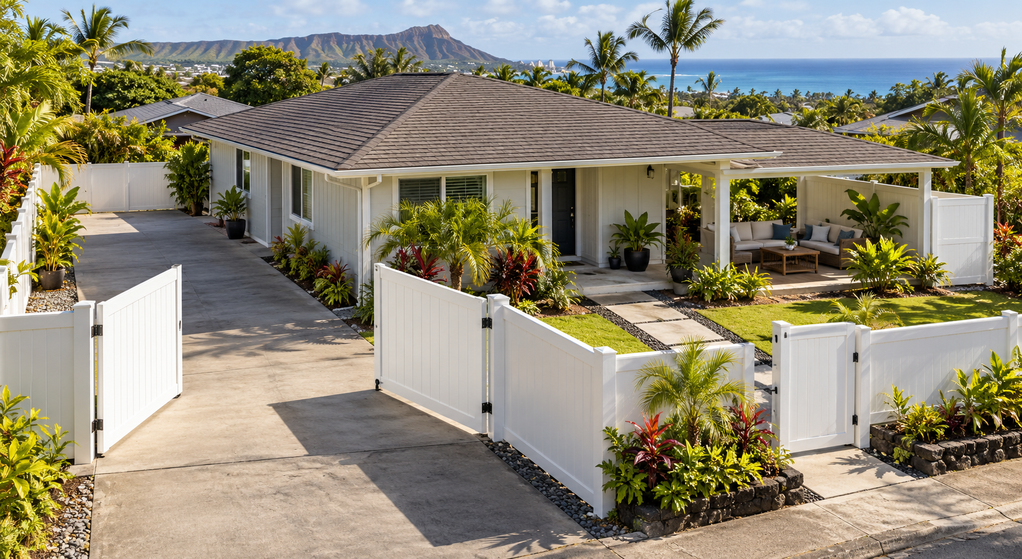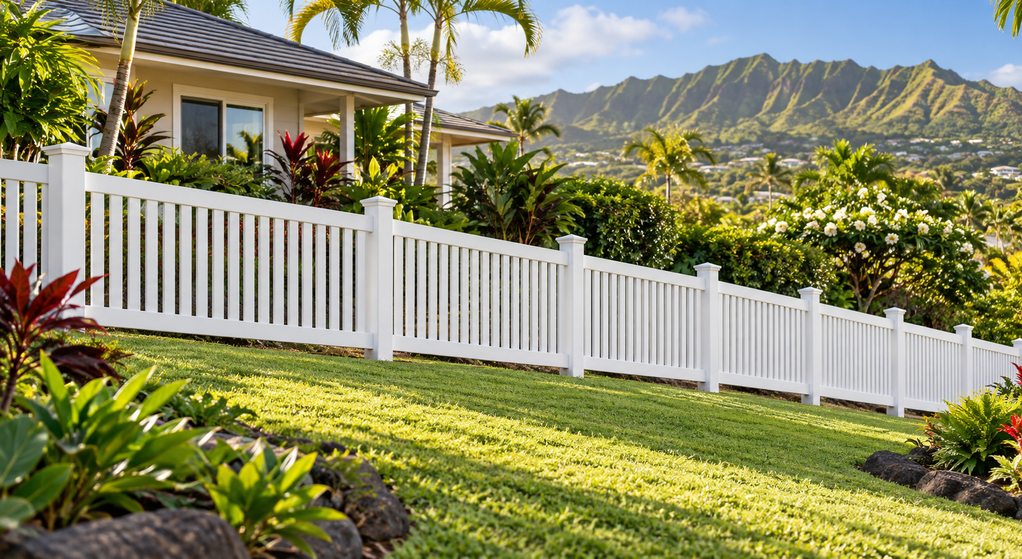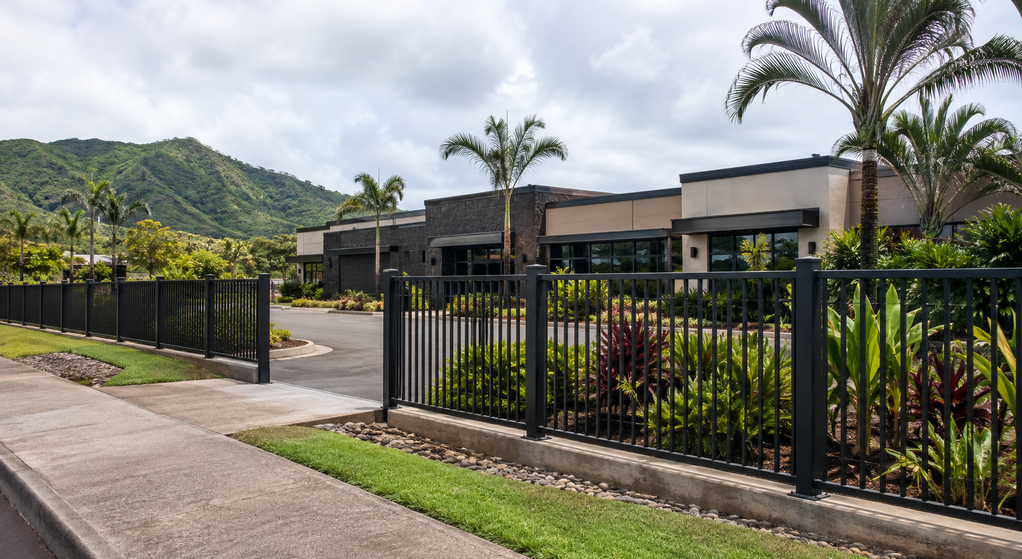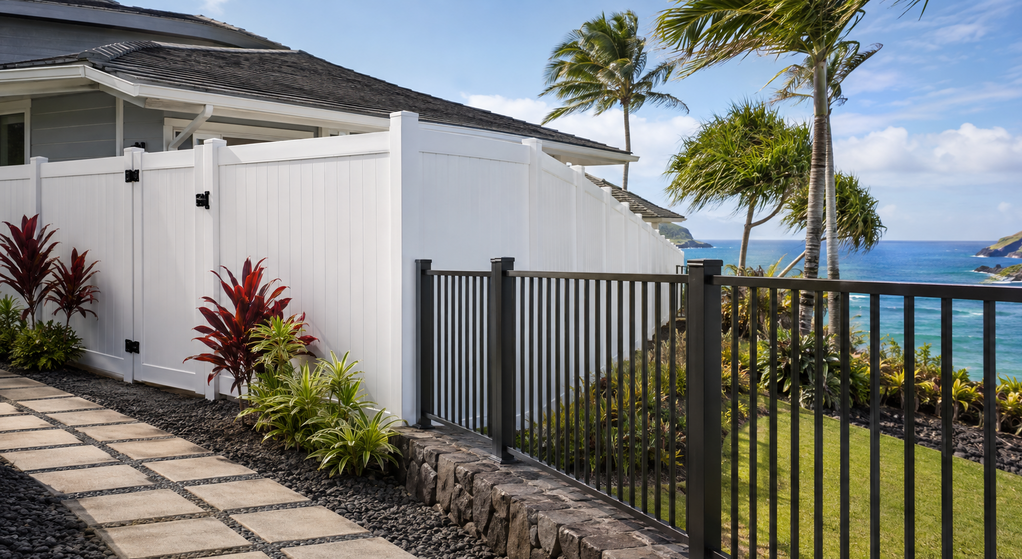
How Property Lines and Terrain Affect Fence Layout in Hawaii
Summary
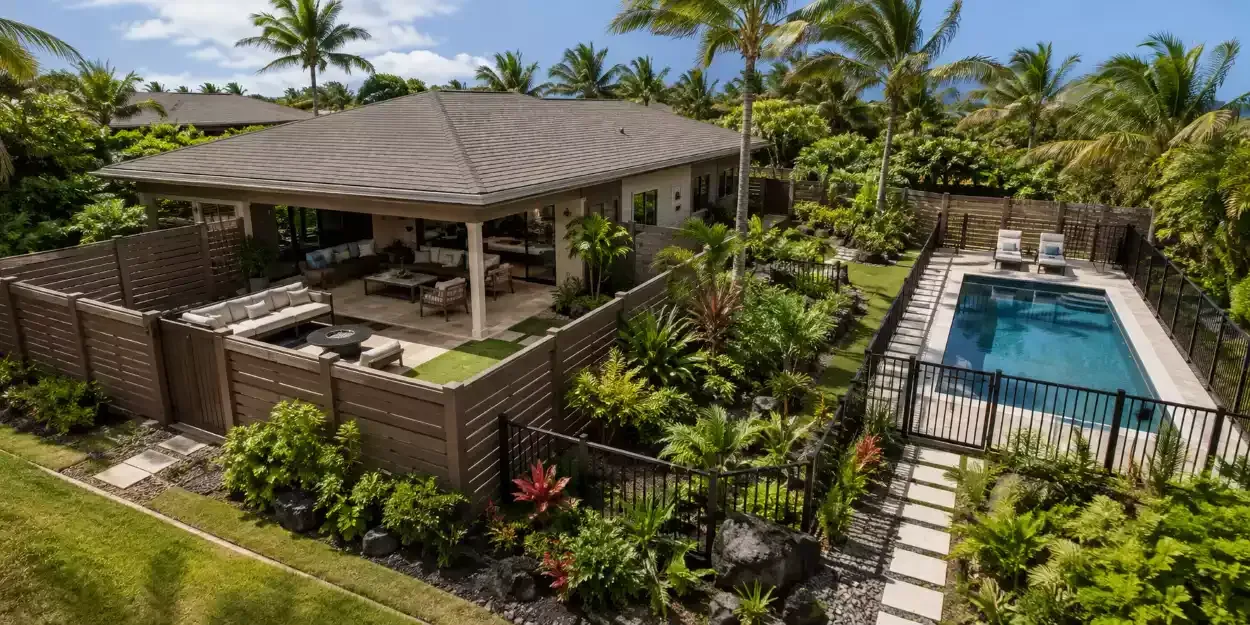
Property lines establish the boundary a fence layout must respect, while terrain influences panel alignment, post placement, drainage, and gate operation. For Oahu homeowners, a workable plan starts with confirmed boundaries and measured elevation changes, then accounts for existing walls, access needs, and the limitations of the selected fence system.
A fence can look straight on a drawing yet create problems once it reaches a slope, drainage channel, or narrow side yard. Before choosing panel heights or ordering materials, establish where the fence can go and how it will meet the ground along that route.
Vinyl fence installation services in Oahu include options worth evaluating against the property's dimensions and terrain.
Sunset Hawaii Fencing Company provides fencing services across Oahu and was founded by Londene Manu, a third-generation mason and fencing professional. Where a proposed fence meets an existing rock wall or changes elevation, the relationship between those structures deserves attention early in planning.
Confirm the Boundary Before Choosing the Fence Route
An old fence, hedge, or mowing line may suggest where a property ends, but its position alone does not confirm the boundary. Copying an existing fence's location can repeat an earlier placement error.
Gather your survey and property documents. If markers are missing, records conflict, or the
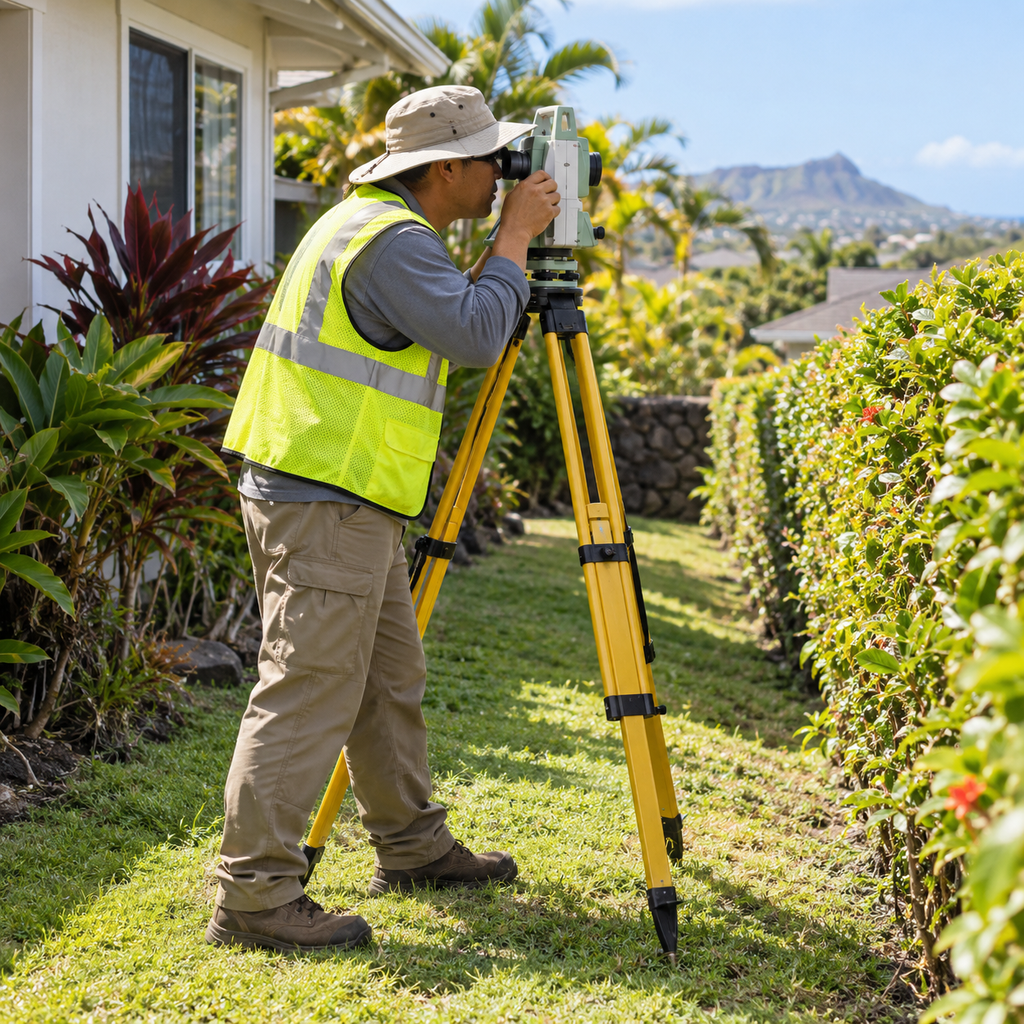
proposed route is close to a disputed edge, have a licensed land surveyor establish the boundary before installation. Resolve disagreements before ordering a layout that depends on the disputed space.
Distinguish the property line from the proposed fence line on the drawing. Include the width of posts, footings, caps, and other projecting components. A line showing only the center of each post can hide how much space the completed installation occupies.
Also identify recorded access or utility easements for review. A convenient route on your side of the boundary may still conflict with access obligations. Discuss maintenance access with your installer, particularly where moving the fence inward would leave a narrow strip behind it.
Map Terrain Before Choosing Panel Geometry
A yard's overall slope does not describe every section. One run may cross a gradual incline, flatten beside a patio, then drop sharply near a corner. Record those transitions before deciding panel lengths and post positions.
Ask for a layout that shows both the overhead route and a side view of changing ground levels. The side view should identify the intended fence top and bottom clearance at difficult sections.
For privacy, consider the viewing position on both sides. A panel that screens a level patio may provide less screening from a neighboring uphill yard. Raising the fence is not automatically the right solution. Placement, permitted dimensions, and the specific area needing privacy all matter.
These measurements also help distinguish a design adjustment from additional site work. Moving a corner slightly within the confirmed usable area may be simpler than forcing a panel across an abrupt grade change.
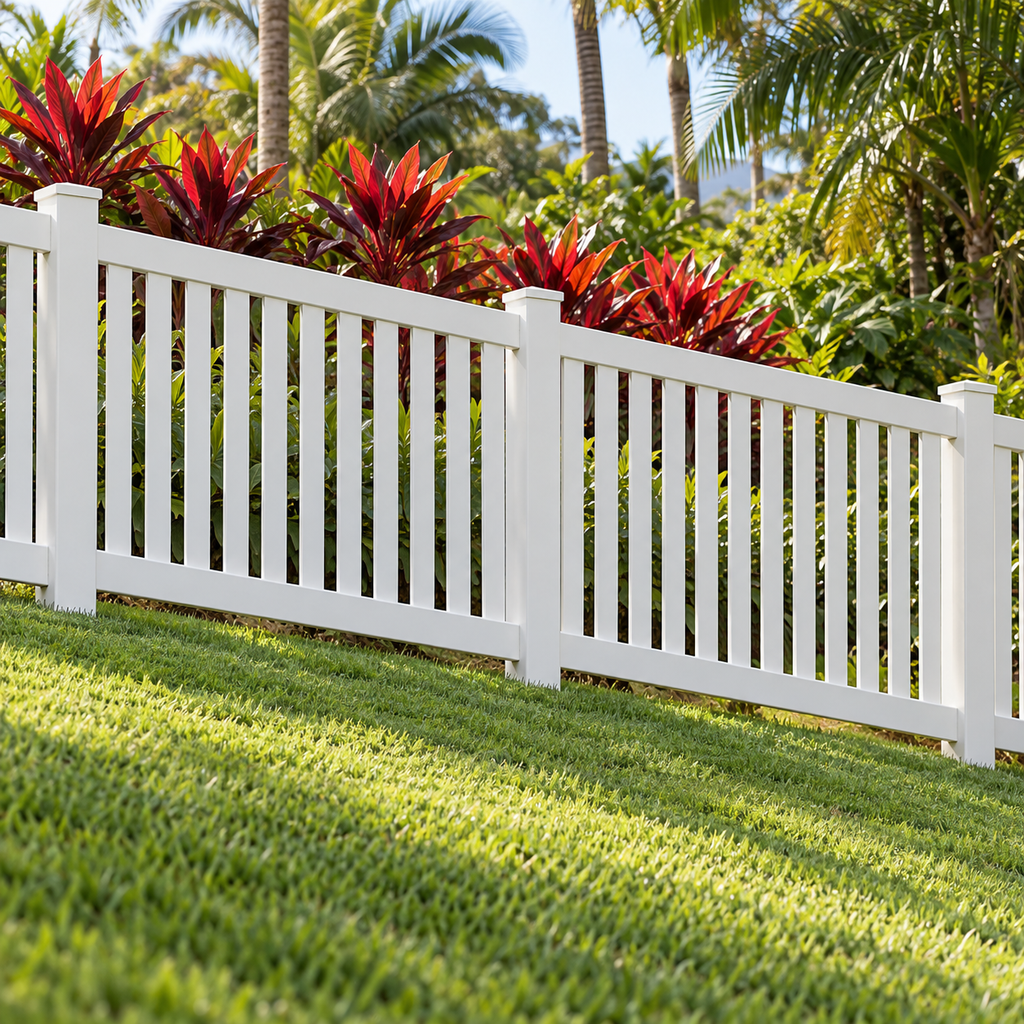
Choose the Fence Geometry for the Grade
Two common approaches create different results on sloping ground.
- Stepped panels remain level, with successive sections set at different elevations. This creates a stair-step top line and can leave larger openings beneath the downhill ends.
- Racked panels follow the incline while posts remain upright. The selected system must allow that adjustment within its specified limits.
Do not assume every vinyl style can follow the same slope. Ask the installer to identify the product, its slope limitations, and any required shorter sections or transitions.
Evaluate the largest bottom opening, especially if containing a small dog is part of the fence's purpose. A design that looks acceptable from the street may leave an unsuitable gap at the lowest corner. Avoid solving that gap by simply piling soil against ordinary vinyl panels.
Keep Drainage and Existing Walls in the Layout
On an Oahu property with runoff crossing the proposed fence route, mark that path before setting post locations. Look for low spots, sediment deposits, exposed soil, and existing drain outlets. Observations after rain can help identify areas needing closer evaluation.
Keep wall drainage outlets accessible and discuss how the installation will preserve water movement. A continuous base or added fill can change conditions that an open fence line previously accommodated.
Existing rock or concrete walls also need assessment before fence posts are attached. A wall's appearance does not establish whether it can support the proposed fence. Where a wall retains soil, have the attachment and added loading evaluated by an appropriately qualified professional.
Site preparation for fencing in Hawaii covers related planning considerations, including clearing the route and identifying underground utilities. Complete those checks before treating the post layout as final.
Place Gates Where Terrain Lets Them Operate
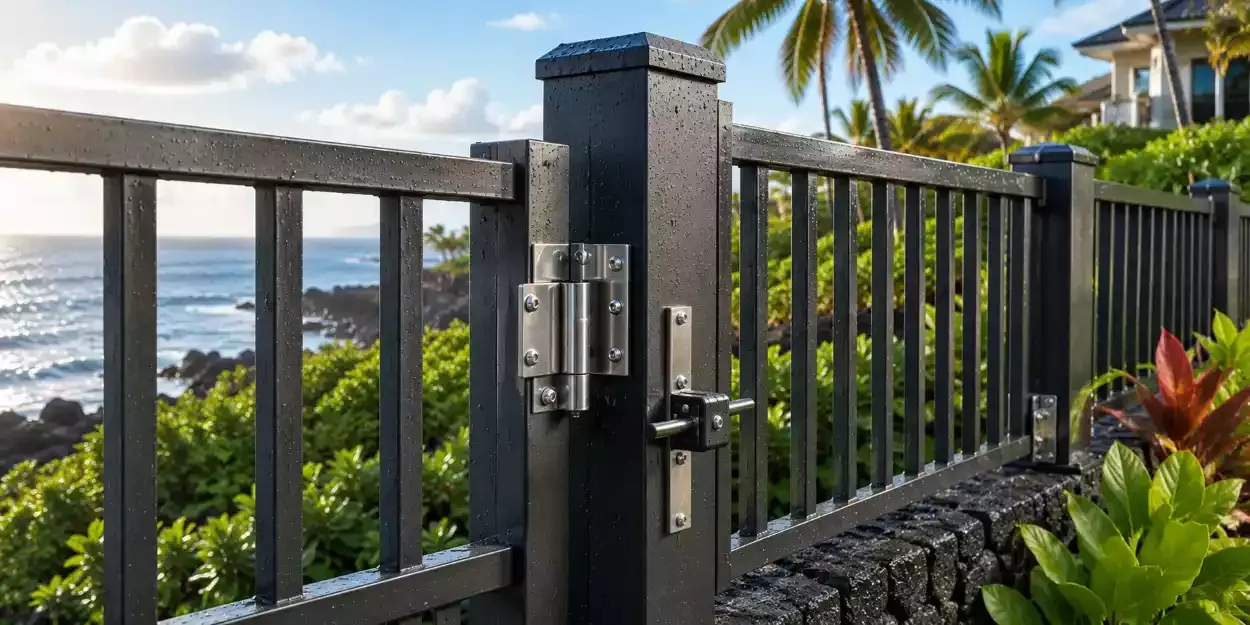
Gate placement should influence the adjoining fence sections from the beginning. Catalyst's privacy vinyl fence installation instructions specifically direct installers to plan gate placement, openings, and hardware clearance before installing the fencing.
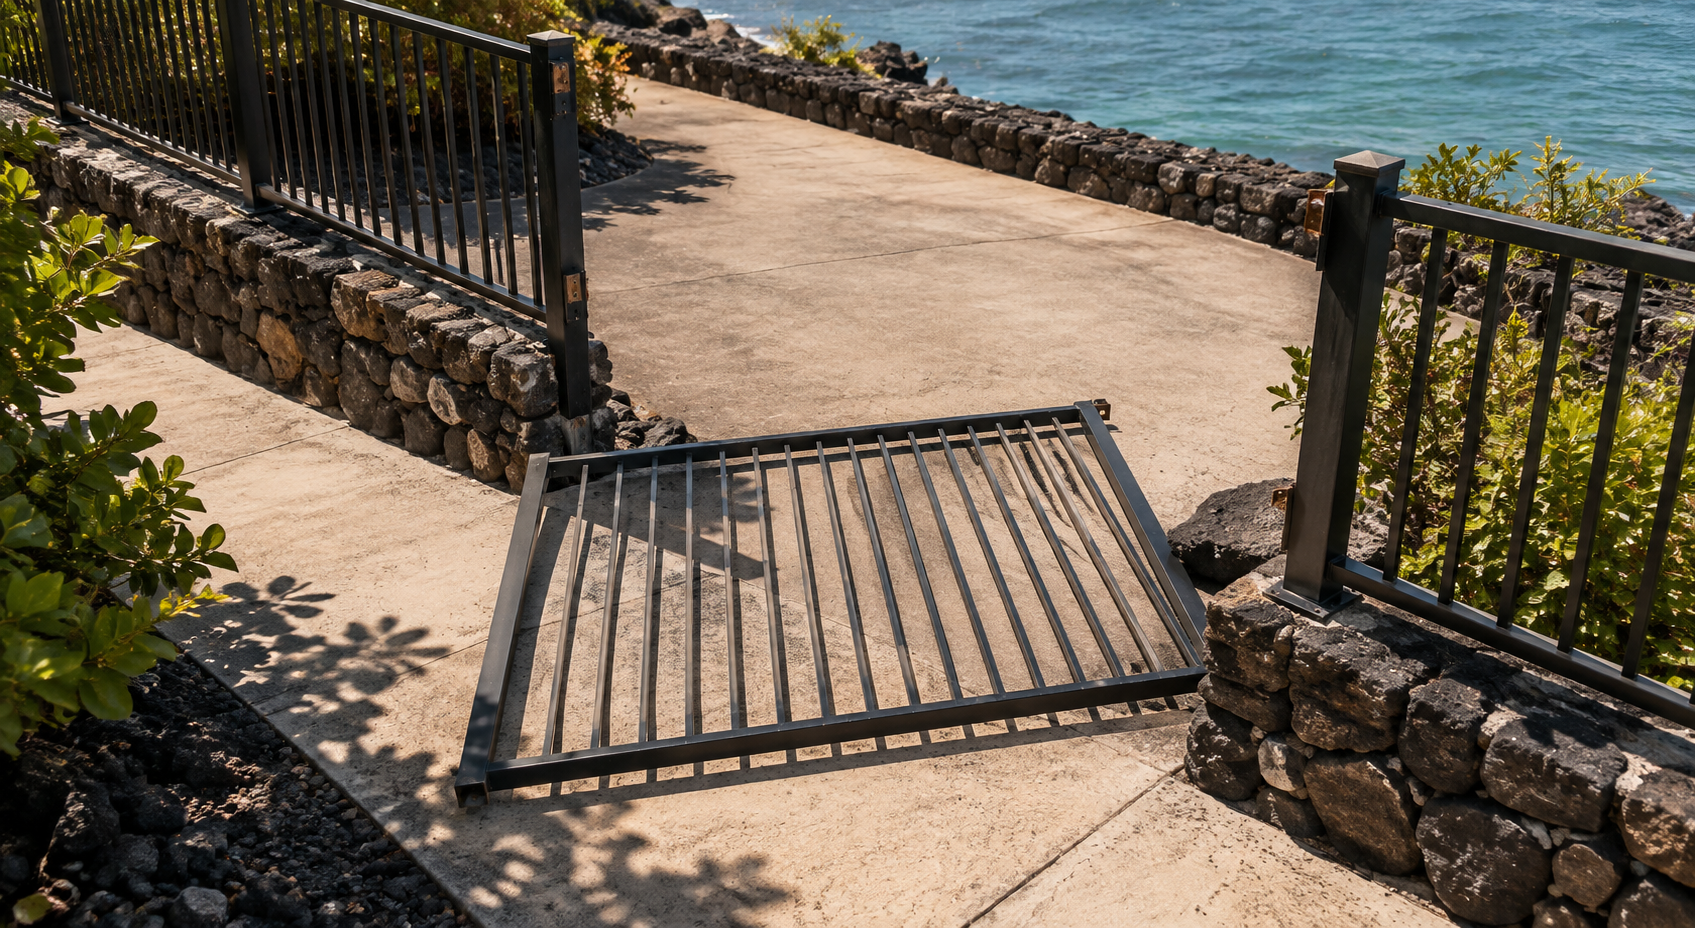
On rising ground, check the entire swing path. A gate may clear the surface when closed but
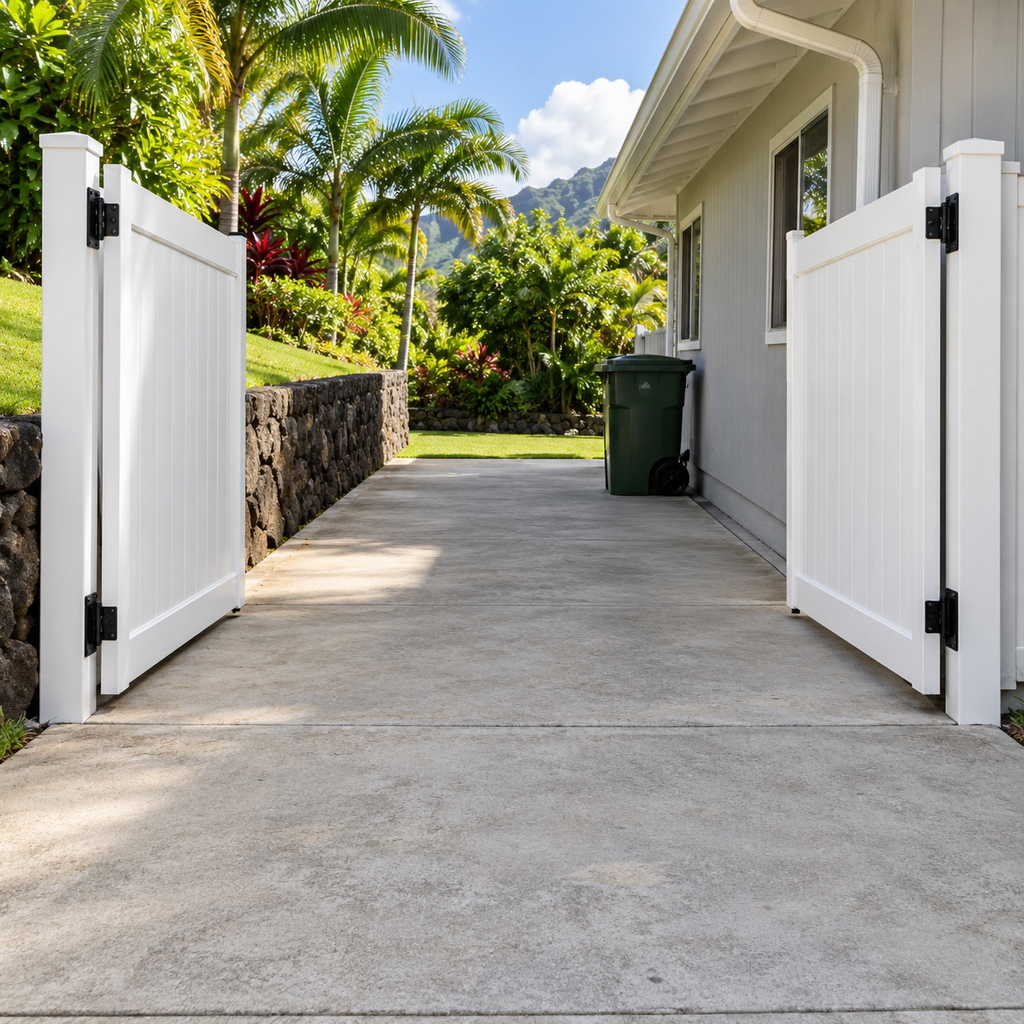
strike it halfway open. Moving the opening to a flatter section may work better than increasing the bottom gap.
Measure usable passage space after accounting for posts and hardware. Consider rubbish bins, lawn equipment, and future backyard access alongside everyday foot traffic.
Common gate installation mistakes homeowners make in Oahu explores additional issues to review before finalizing the opening and support arrangement.
Approve a Post-and-Footing Plan Before Installation
Before approving the work, request a layout showing post spacing, elevation changes, panel arrangement, bottom clearances, and gate movement. The proposal should explain footing assumptions and how unexpected ground conditions will be handled.
Resolve grading and drainage decisions before setting posts. Confirm concrete curing requirements before panels and gates load the supports.
A successful sloped fence starts with a plan that fits the property. Settling these details early gives the finished fence a clearer path to reliable support, usable access, and a consistent appearance.

written by
Kurt Manalastas
Property Security & Exterior Improvement Journalist
Kurt creates research-based content focused on fencing solutions, property security, and outdoor boundary improvements. By combining industry best practices, material insights, and practical property protection strategies, he helps homeowners and business owners make informed decisions about building safer, more secure, and visually appealing outdoor spaces.