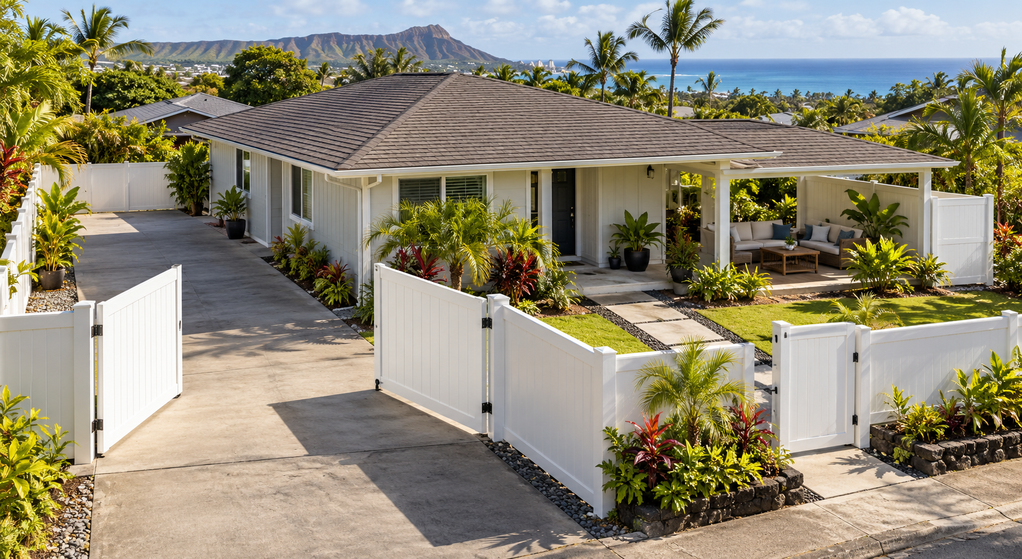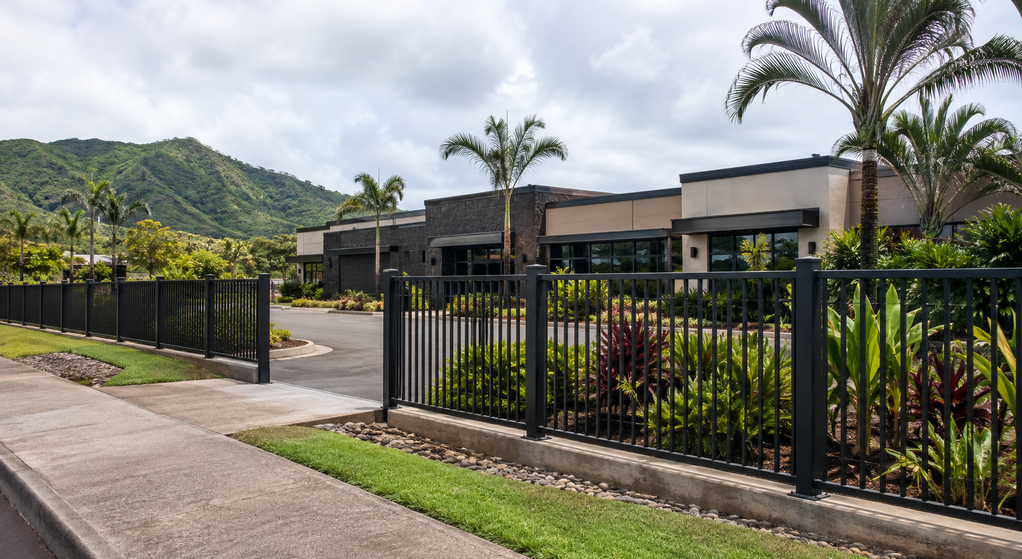
How Fence Posts and Footings Should Be Planned on Sloped Hawaii Properties
Summary
A fence on sloped ground needs more than matching panels and evenly spaced holes. Post locations, footing support, drainage, and changes in elevation must work together. For Hawaii properties, planning these details before installation helps avoid oversized gaps, unstable posts, and gates that cannot open properly.
A fence line that looks straightforward from the street can cross several different conditions. One section may follow a gentle incline, another may sit beside a retaining wall, and a gate opening may cross a driveway that rises sharply.
Those differences affect what happens below ground as much as the finished appearance. Planning should establish how each section follows the terrain and how its posts receive adequate support.
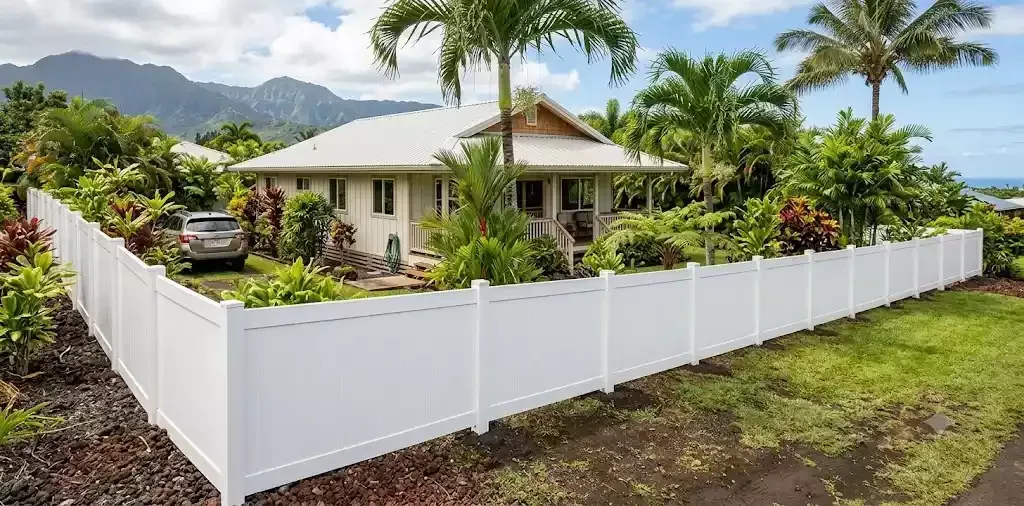
The available vinyl fencing installation options for Oahu properties provide a starting point for choosing a fence system suited to the intended layout.
Sunset Hawaii Fencing Company was founded by Londene Manu, a third-generation mason and fencer. For a sloped property, the practical starting point is a measured layout that connects the fence design with the ground conditions.
Set Post Locations From Measured Grade Changes
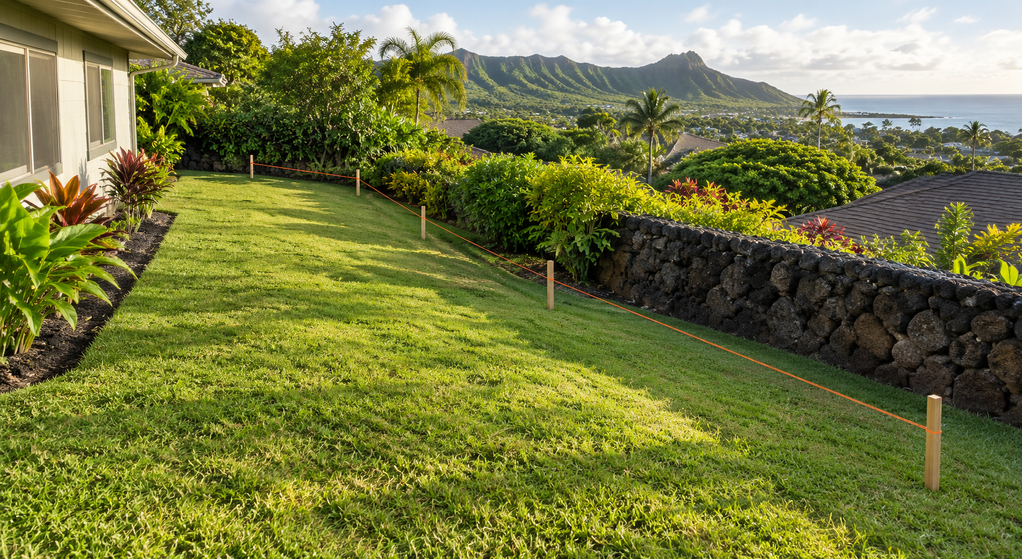
Measuring the total boundary length does not show how much the ground rises between individual posts. The layout should record horizontal distances, elevation changes, corners, gate openings, and abrupt breaks in the slope.
A tape laid directly against sloping ground measures a longer distance than the horizontal span. Confusing these measurements can leave post openings incompatible with the selected panels.
Ask the installer to show where each section begins and ends, including the expected clearance beneath it. This makes it easier to identify an awkward gap before materials are ordered.
Confirm the boundary and arrange underground utility locating before excavation. Mark private irrigation and drainage lines too. Site preparation for fencing in Hawaii covers related preparation decisions that belong ahead of digging.
Choose Stepped or Racked Panels Before Ordering Posts
Two common approaches handle changes in elevation.
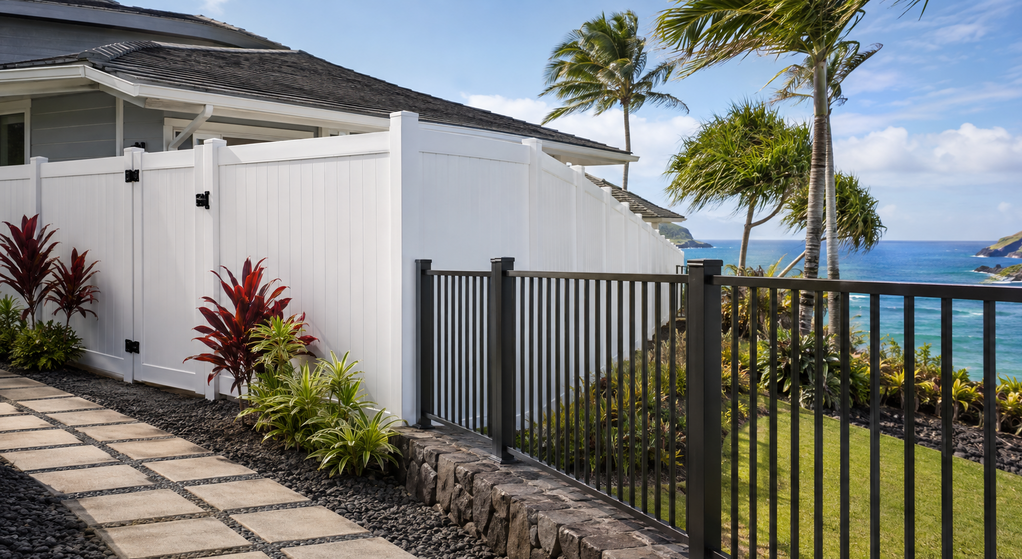
Stepped fencing keeps each panel horizontal while adjacent sections sit at different heights. This creates a stair-step appearance and can leave triangular openings beneath panels.
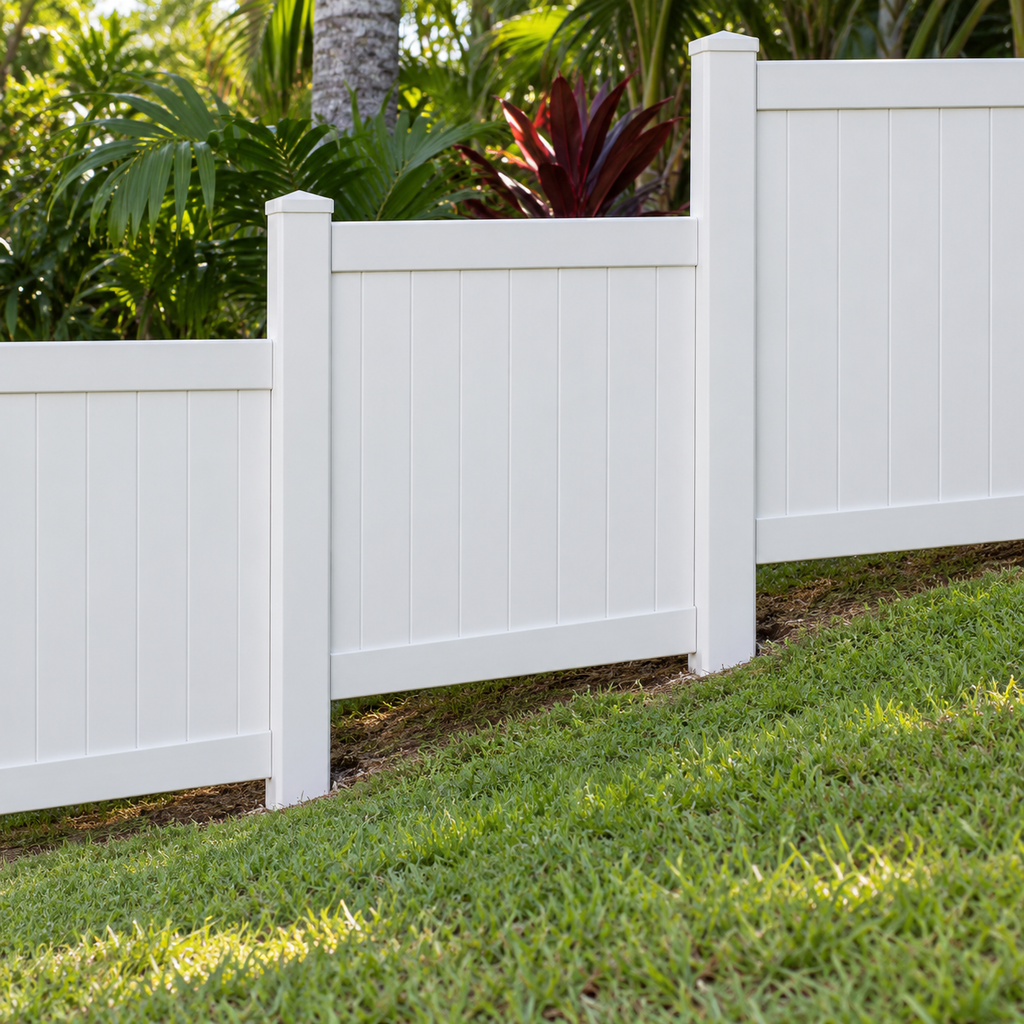
Racked fencing follows the incline with angled rails while posts remain vertical. Compatibility and allowable slope depend on the specific fence system.
The Bufftech and SimTek installation instructions for variable terrain describe both methods and explain that stepped installations may require longer posts. They also identify shorter sections as an option for reducing gaps beneath stepped panels.
That choice belongs early in the project. A post must accommodate the required exposed height while retaining the specified embedment. Raising a standard post to meet a higher panel reduces the portion below ground.
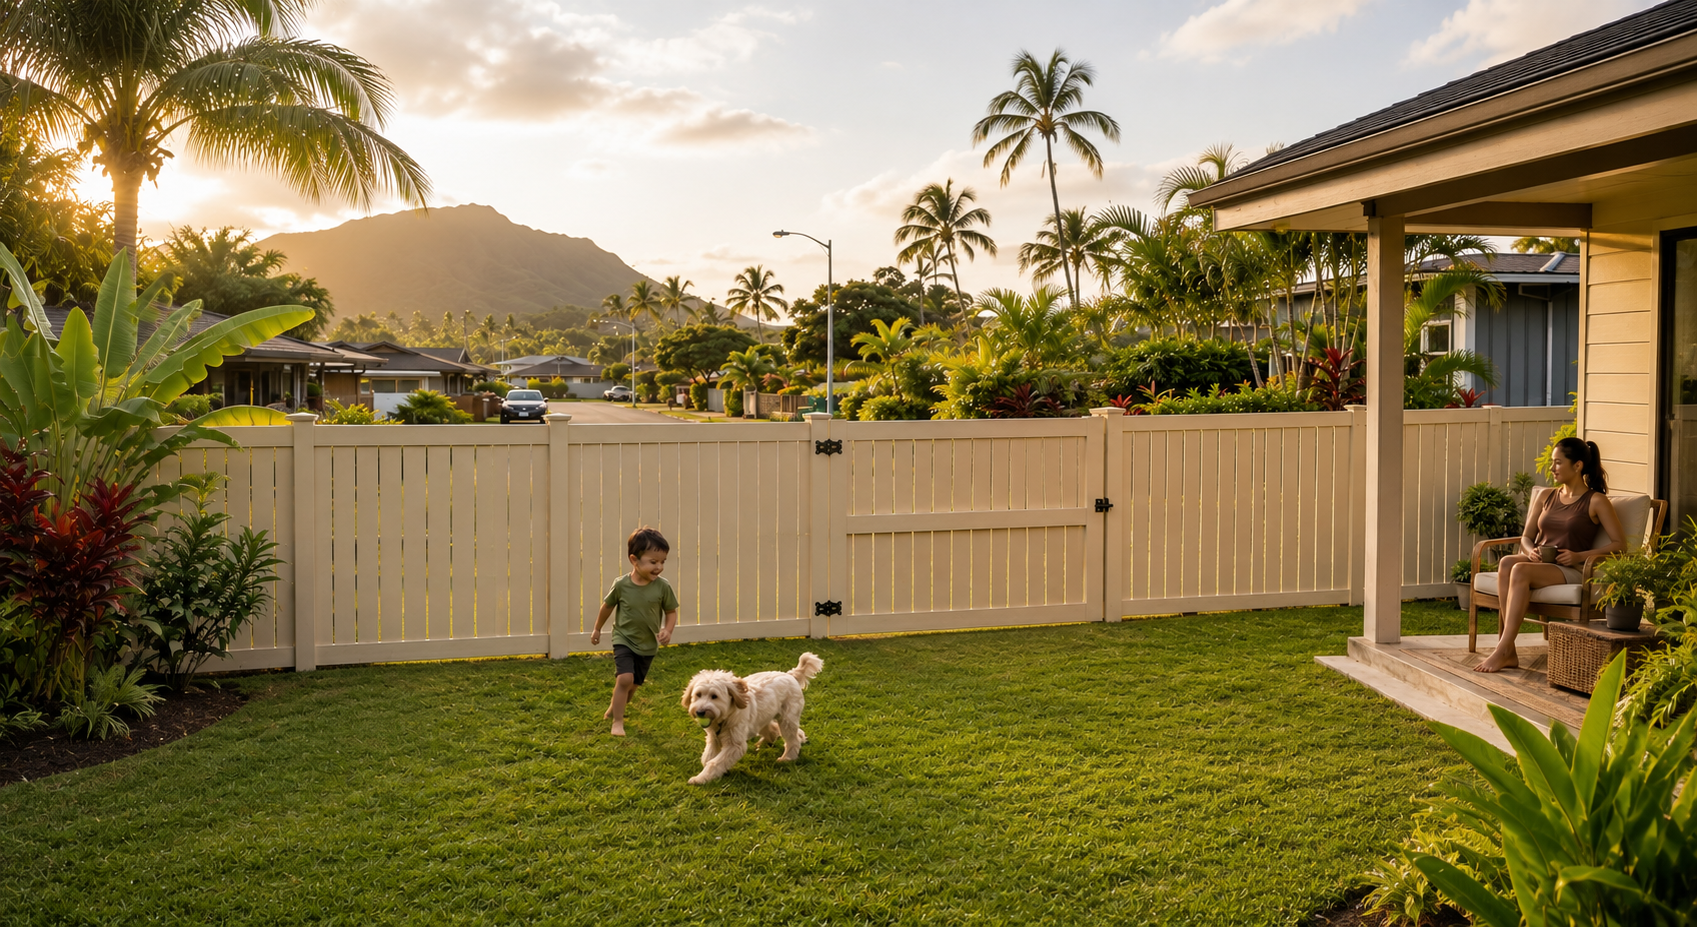
For yards used by pets, review the largest proposed bottom gap. An attractive fence line may still leave an opening that defeats its intended purpose.
Design Footings Around Actual Ground Support
There is no single footing depth or diameter suitable for every sloped Hawaii property. Fence height, panel design, wind exposure, soil conditions, and proximity to a slope edge all influence the support needed.
The important question is what surrounds the footing. Loose fill, disturbed landscaping soil, or eroding ground should not be treated as equivalent to competent supporting material.
On a slope, the downhill side deserves particular attention. A hole may appear deep when measured from the uphill surface while having substantially less surrounding soil downhill. Footing planning must account for that geometry.
Ask how the installer will respond if excavation encounters unexpected rock, fill, or soft ground. Encountering rock does not by itself justify shortening the planned footing. An appropriate detail may require different excavation equipment, a revised location, or engineered anchorage.
Where the fence sits near a steep drop or potentially unstable ground, have a qualified professional assess support before installation proceeds.
Keep Footings Separate From Drainage and Retaining Work
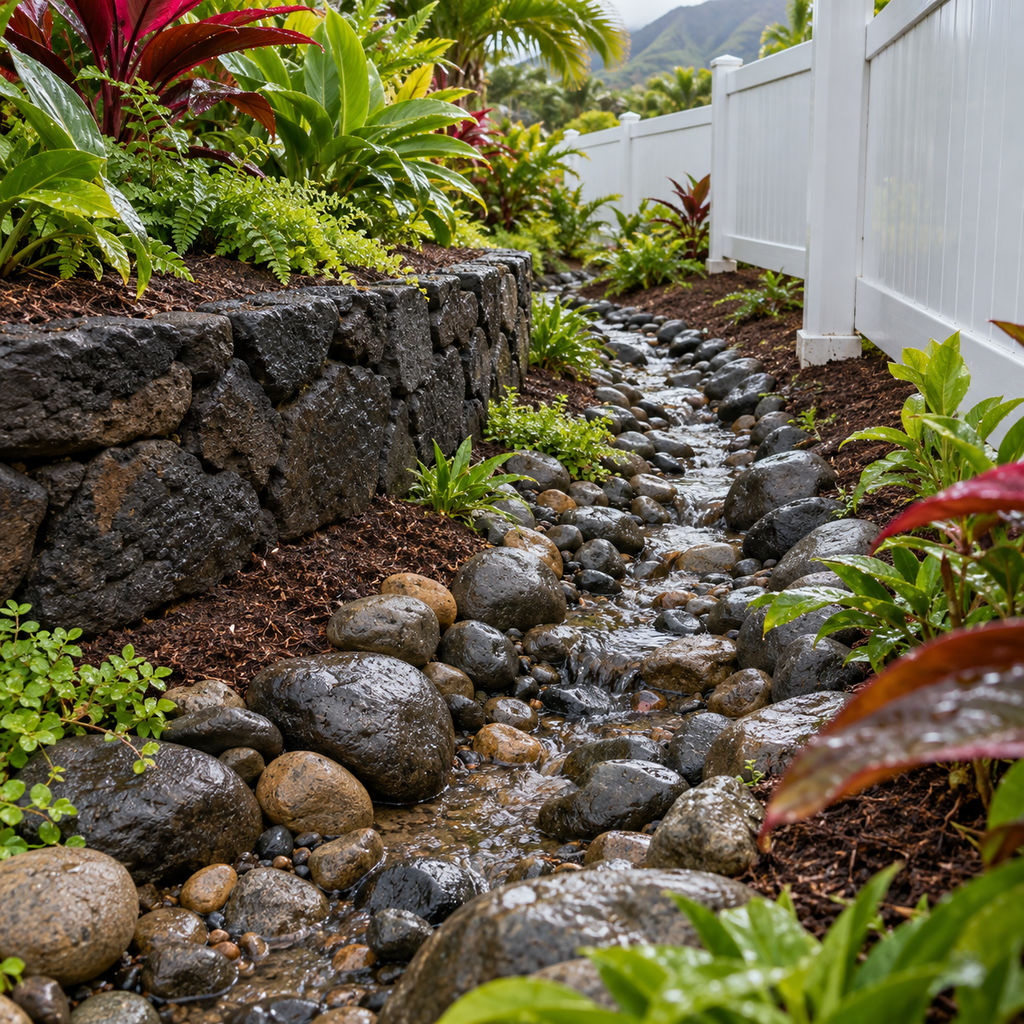
Rainwater moving downhill can concentrate along a fence line or around individual posts. Look for existing runoff channels, exposed roots, sediment deposits, and areas where water collects.
Plan how water will continue through the site after construction. Filling every gap beneath a
stepped fence with soil can obstruct drainage and place pressure against panels that were not designed to retain earth.
Ordinary vinyl fence panels should not serve as retaining walls. If the desired layout requires a raised planting bed or a level strip beside the fence, plan the retaining structure and drainage separately.
An existing rock or concrete wall also needs assessment before fence posts are attached. Its appearance alone cannot establish whether it can support the added fence loads. Wall condition, reinforcement, anchors, and edge distances require consideration.
Design Gate-Post Footings Around the Opening
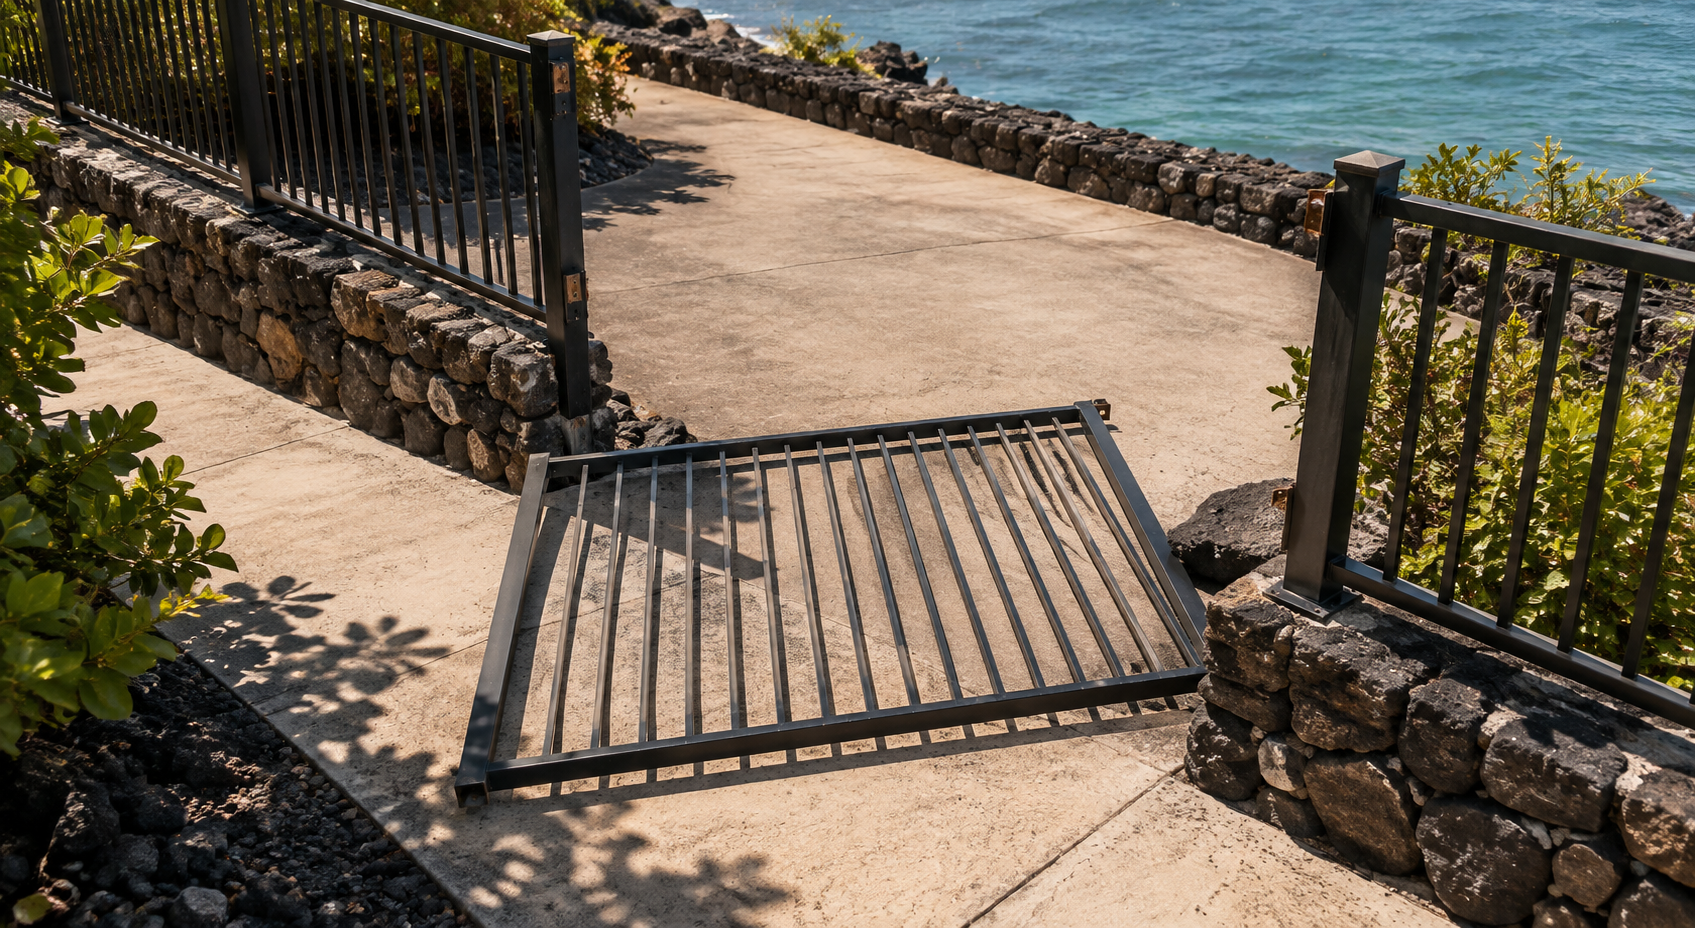
Gate placement can determine whether an otherwise workable layout functions properly. A gate that closes neatly may strike rising ground halfway through its swing.
Check the entire opening path, including planned paving or landscaping changes. Consider moving the opening to a flatter location or selecting a suitable alternative configuration where clearance is limited.
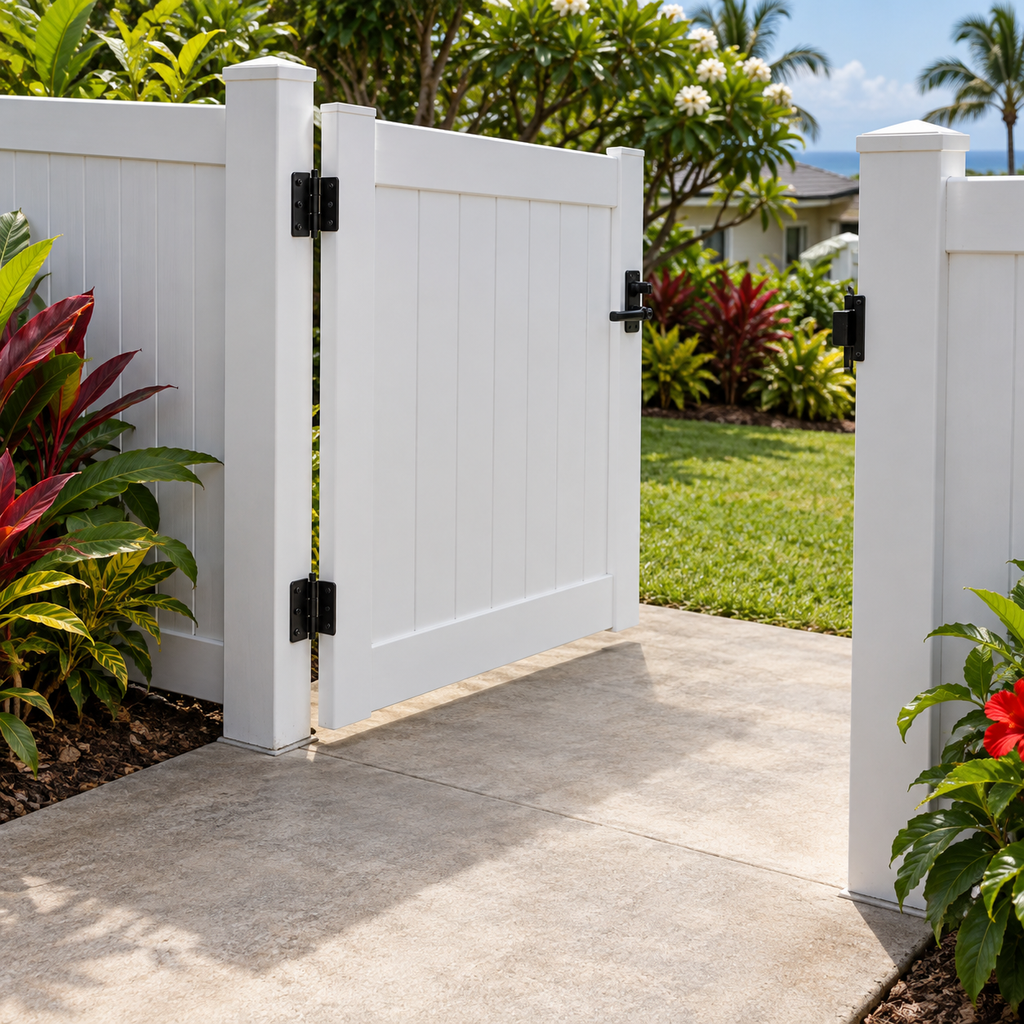
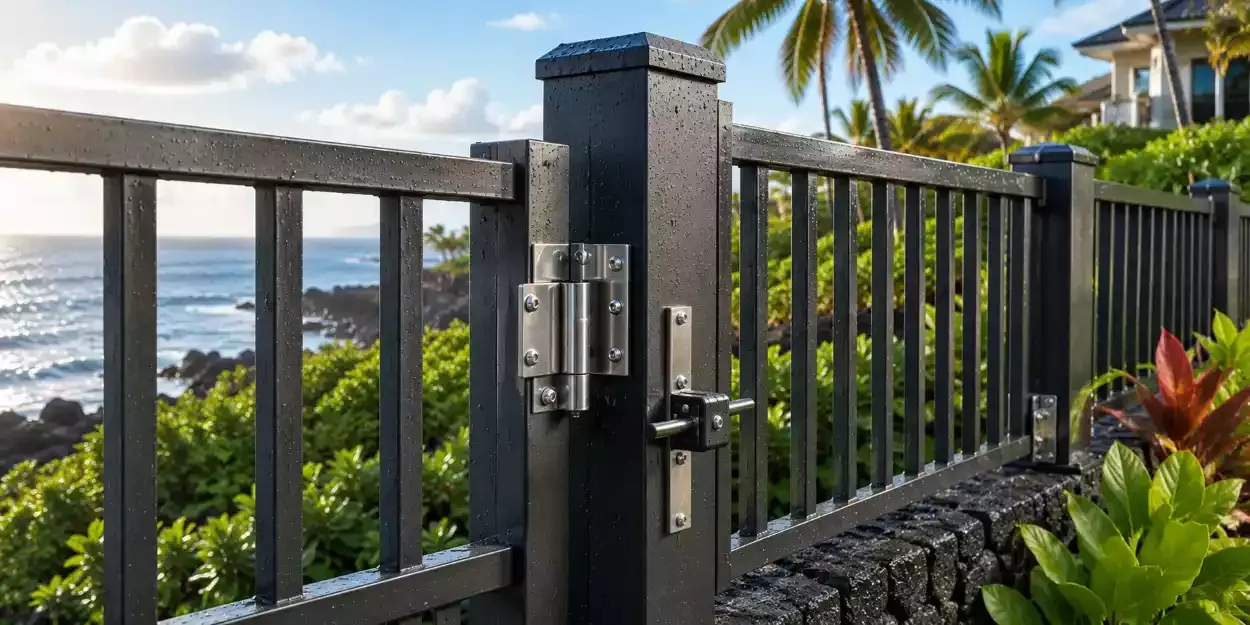
Gate posts also carry loads from the gate’s weight and movement. Their reinforcement and footing details should follow the selected system and site requirements.
Common gate installation mistakes on Oahu properties offers further context for reviewing placement, alignment, and everyday operation.
Approve a Post-and-Footing Plan Before Installation
Before approving the work, request a layout showing post spacing, elevation changes, panel arrangement, bottom clearances, and gate movement. The proposal should explain footing assumptions and how unexpected ground conditions will be handled.
Resolve grading and drainage decisions before setting posts. Confirm concrete curing requirements before panels and gates load the supports.
A successful sloped fence starts with a plan that fits the property. Settling these details early gives the finished fence a clearer path to reliable support, usable access, and a consistent appearance.

written by
Kurt Manalastas
Property Security & Exterior Improvement Journalist
Kurt creates research-based content focused on fencing solutions, property security, and outdoor boundary improvements. By combining industry best practices, material insights, and practical property protection strategies, he helps homeowners and business owners make informed decisions about building safer, more secure, and visually appealing outdoor spaces.